
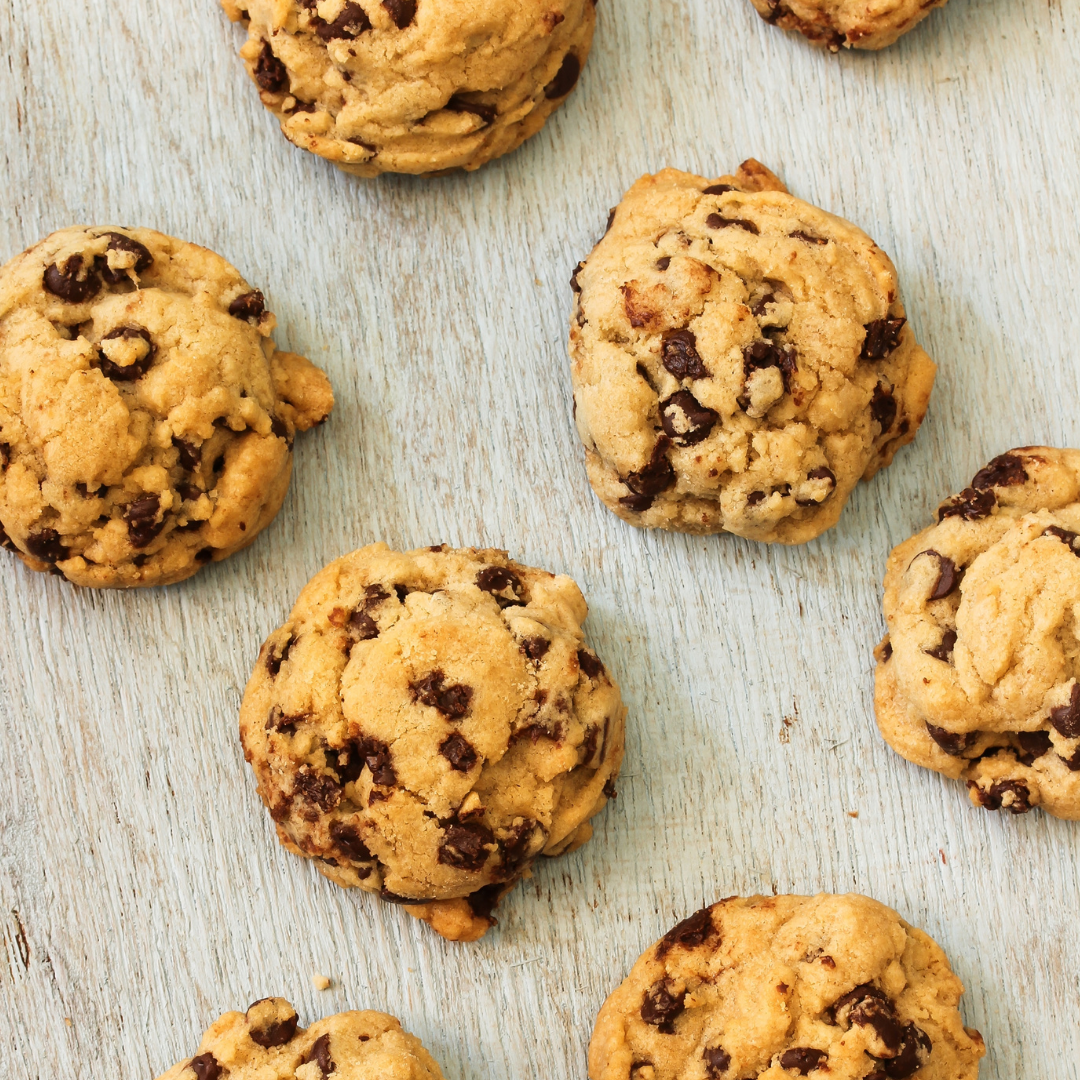
Everything in moderation, including moderation – right? Baking cookies reminds me of SO many things – snow days, the holiday season, a “just because” snack – and let’s be real, nothing beats a homemade, fresh out of the oven cookie! While it’s hard to narrow it down to just one, here’s a favorite gluten free + vegan chocolate chip cookie – inspire by Chocolate Covered Katie – that I am confident will become a family favorite of yours as well! Be sure to send us your selfies for a chance to win our giveaway of the week!
Jillian’s Favorite {Vegan + GF Chocolate Chip} Cookie Recipe
Makes 15-20 cookies, based on size preference
Note: you can double the recipe and freeze half to skip the mess drama down the road 😉
Ingredients
- 1 cup + 2 tbsp oat flour (option to DIY in a food processor)
- 1/4 tsp salt
- 1/2 tsp baking soda
- 4 tbsp coconut sugar/brown sugar
- 4 tbsp regular sugar (ideally unrefined)
- 1/3 cup chocolate chips, mini/regular size works best
- optional toppings: 1/3 cup in total of chopped walnuts, almonds, macadamia birthday sprinkles, or an additional option of your choice!
- 1 tsp pure vanilla extract
- 2 tbsp melted coconut oil
- 3-5 tbsp non-dairy milk of choice, preferably unsweetened
Kitchen Equipment
- Mixing bowls
- Spatula
- Measuring cup/spoon
- Cookie Sheet
- Small pot/skillet
Directions
- Preheat oven to 380°F
- Place coconut oil in a small pot/pan to melt at low-medium heat until completely liquified, stirring occasionally. Set aside to cool (not harden) for a few minutes.
- In the meantime. Combine dry ingredients in a large bowl and set aside. Combine vanilla, milk and cooled coconut oil in a small bowl. When fully combined, add the wet into the dry ingredients – stirring gently until fully mixed yet being conscious to not overmix. Form a large ball with the mixing process.
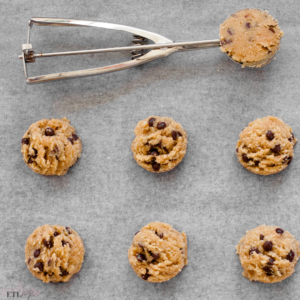
- Make 15-20 little balls from the dough with your hands. (PRO TIP: gently wet your palms and fingertips before picking up the dough to help prevent it from sticking on you!)
- For softer cookies, refrigerate the little dough balls until cold first, then bake. For crispier cookies, skip the refrigerator and place your dough balls directly onto the cookie sheet. (NOTE: if you’re freezing the dough, be sure to still form them into balls prior to freezing – it is not recommended to skip this step)
- Bake cookies for 7 minutes, or until a tint of golden but still may look a little undercooked. The PRO TIP here is to let them cool about 10 minutes on the cookie sheet before removing – this will ensure they continue to cook but not overcook as they cool.
- Storage: For softer cookies, store in a reusable plastic container with a lid, sealed tight. For crispier cookies, store in a reusable glass container with a lid, sealed tight.
- Enjoy, take a selfie and tag us on the ‘gram!

Be the first to comment